 |
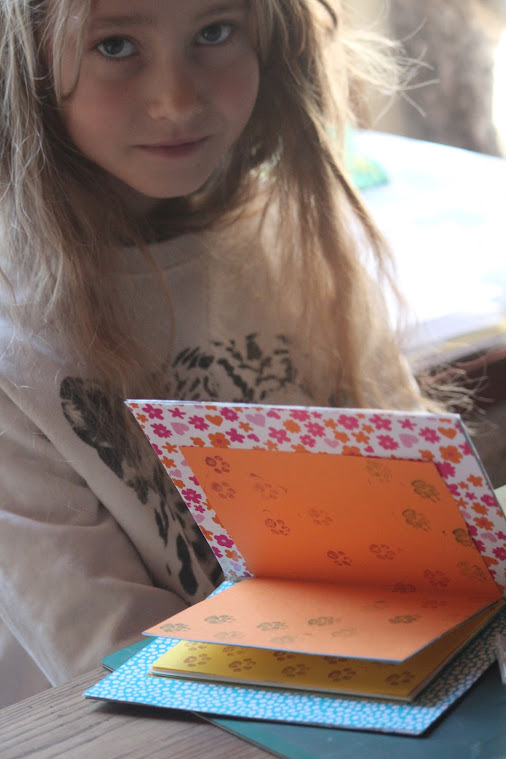
| Maya and the finished product |
I began making books about eight years ago when Maya was very small. I bought this book and launched myself into it with Japanese papers, cardboard and embroidery thread. I made quite a few books for the children over the years; accordion books, cloth books and also note books with lots of fun and different pages.
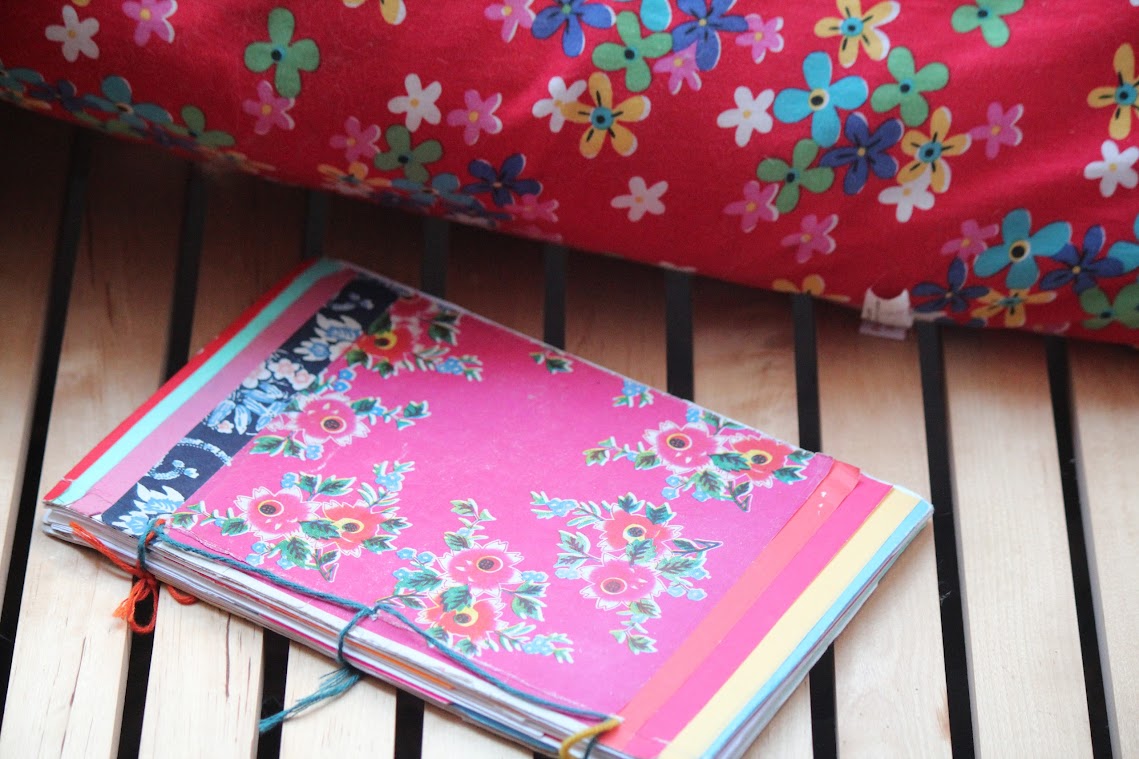 |
| Notebook for Maya |
 |
| Inside - lots of fun papers |
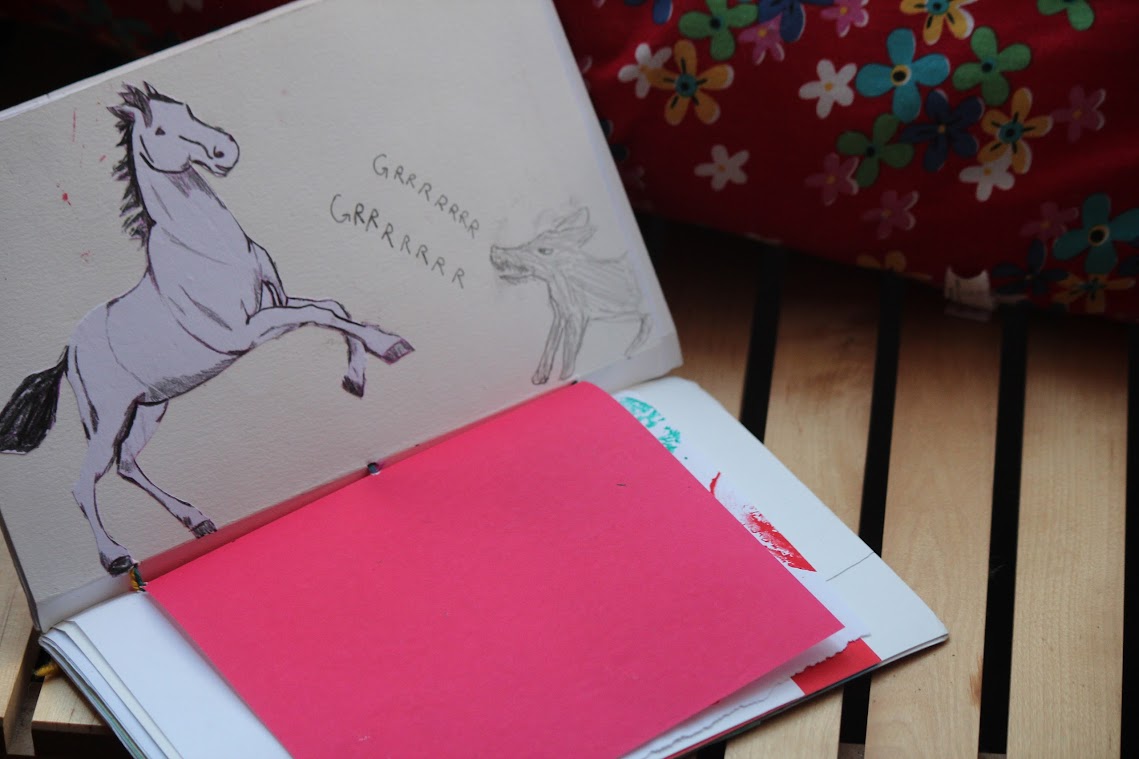 |
| Maya makes it her own with her original illustrations! |
Last week Maya and I decided to do some book making together. She has made a lot of her own books already, with sellotape and glue and varying success. She would imitate what she saw me doing or how books seemed to be made and she learned a lot this way. This time we decided to spend our one on one time together looking at book making more carefully. I would share some of my knowledge and we would also work together with the delightful The Book Book, aimed at children, it's all about writing stories and making books. It's a wonderful book, a real treasure and worth hunting for a copy (I found it here in the UK).
 |
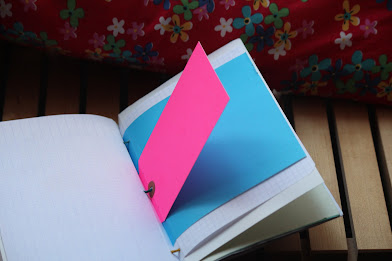
| One of Maya's very simple solo books |
 |
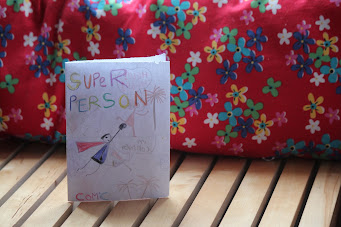
| The amazing cover |
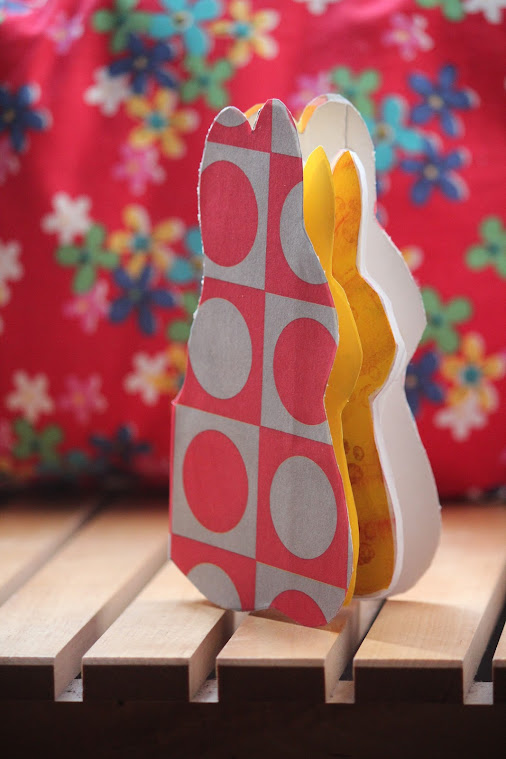
And in our second session, she decided to make a rabbit shaped book inspired by the example in The Book Book.
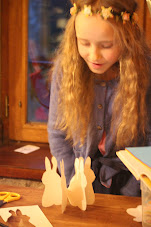 | |
| Rabbit, rabbit! |
 |
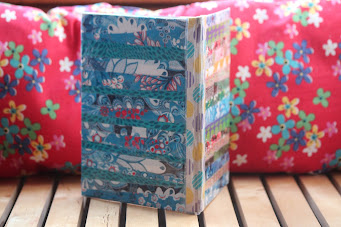
| Another amazing cover |
Here is a little guide based on how we went about making these books. There are lots of other ways to bind a book. I myself often stitch my books together as this is a long lasting binding which is flexible and often a work of art in itself. But for kids, this method is simple and satisfying.
How to Make a Simple Notebook
Please read through all the instructions before beginning as some steps may alter your choices earlier on in the process. Also I would advise having a dummy run by yourself before trying it with kids so that you have understood the process first.
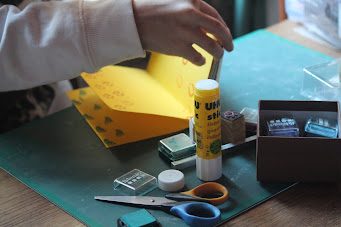
Beforehand
You will need to gather some supplies: paper, scissors, glue, sellotape, a ruler and if possible, a craft/utility knife and a cutting board. These last two are not essential but you sometimes get a cleaner result with a knife and kids enjoy the responsibility of using one. Additional tools which can be fun are a bone folder (a tool for pressing your folds more effectively), clips for holding your work together and a book press - we just use heavier books ourselves. Things like stamps, felt tip pens, paints and crayons can be useful for creating nice effects on your papers.
Before getting stuck in, we usually spend a few minutes discussing what kind of book we want to make - a notebook, storybook, shaped book. This helps get our ideas flowing. It's the perfect time to flick through any books you might have or maybe take a stroll round the internet. Or just get stuck in it really depends on how you and your child work best, some need a model, others don't. The following tutorial will be for making a fairly simple notebook.
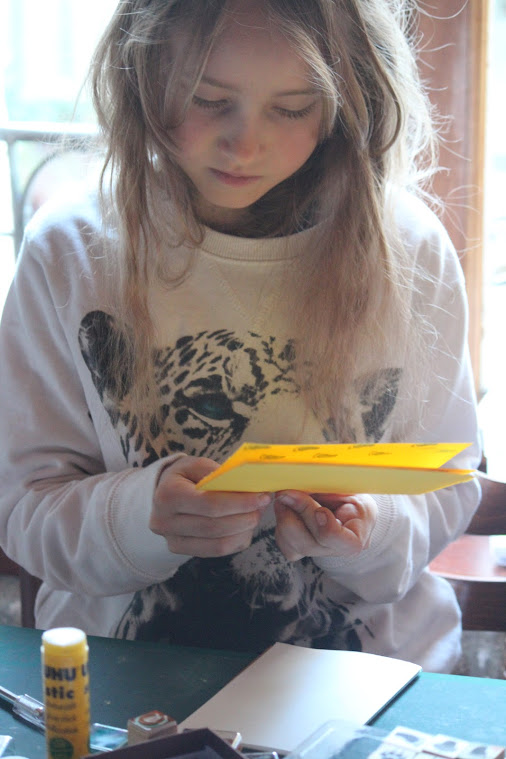 |
| Maya working with her signatures |
Step One - Making Signatures
Take a piece of A4 paper. Fold it in half lengthwise and then again across the width. This divides the paper in four. Depending on whether you want a portrait or landscape shaped book cut the paper in half down one of the lines. You can use scissors or the craft knife, the latter gives a cleaner result if done well especially if using thicker papers or card. Maya's book is portrait shaped. You now have two little books (like cards) which in book making are known as signatures. Repeat this process to create as many pages as you would like to have in your book. If you want to use papers that are not A4 see the note lower down about size.
Step Two - Sticking your signatures together
To make a stronger book without sewing, we decided to glue our signatures together. Take two signatures and stick them together with glue. In the picture below Maya is sticking a yellow signature to a white one. She progressed one signature at a time, sticking each new one and deciding as she went on if she wanted to add more.
When your book has the number of pages you want, you can move on to the next step. Remember that your first page and last page must be blank as they will be used later to attach your pages to your book cover.
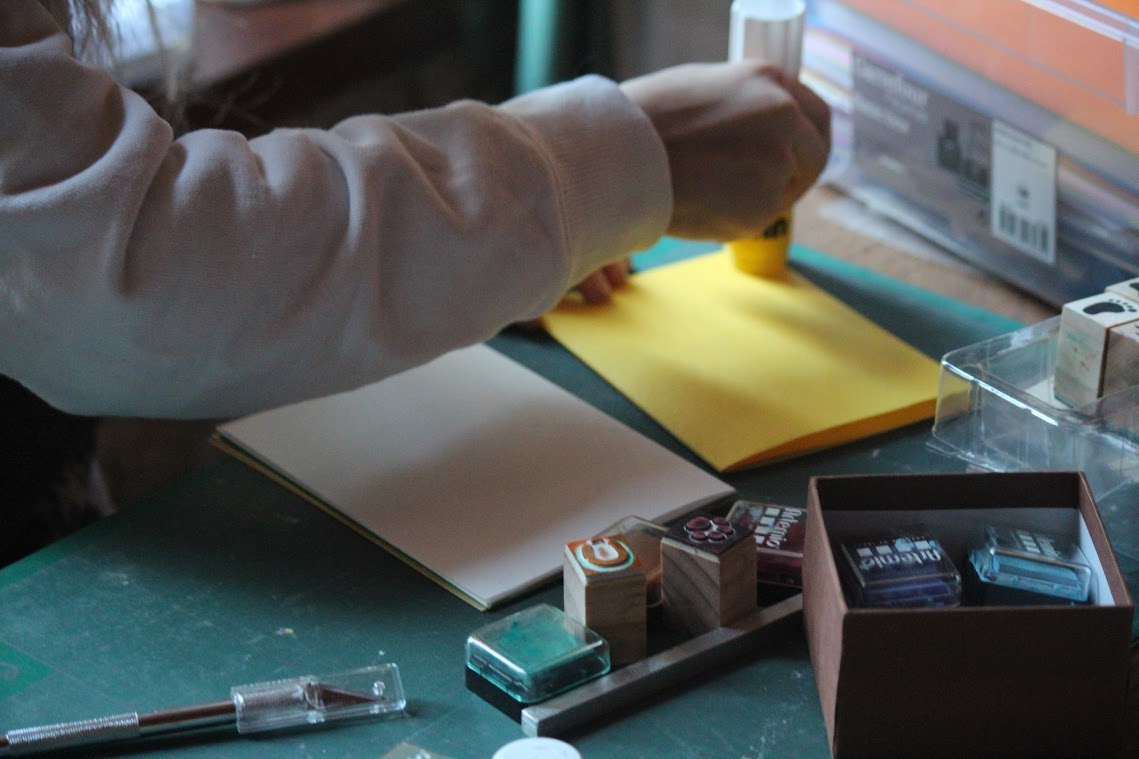 |
| Sticking signatures together |
Step Three - Making your book cover
A book binding needs to protect what's inside, so it needs to be more rigid and a bit bigger that the pages its covering. We made ours from cardboard about 3mm thick. We save the backs of old notebooks, packaging etc and keep it for this kind of project.
First you need to measure your signatures. If you used different sized pieces of paper (see note below about size) then measure the biggest. In The Book Book Pietromarchi reccommends making your book cover 2cm higher and 2cm wider than the size of your pages. You need to cut out two pieces of card. If your signatures are 15cm high and 10cm wide you will need to cut out two pieces of cardboard which are 17cm high and 12cm wide. This is where the craft knife and cutting board is really useful but I have done this with scissors before.
Now for the books spine. First measure the thickness of your pile of signatures - all your pages. Pietromarchi suggests adding 10cm to this measurement. You then cut out a piece of cardboard which is the hight of your front and back cover and the width of your piles thickness plus 10cm. In the case of Maya's notebook 10cm was way too much as her pile of papers was only a few cm thick. Instead I added roughly two cm to the thickness of her pile.
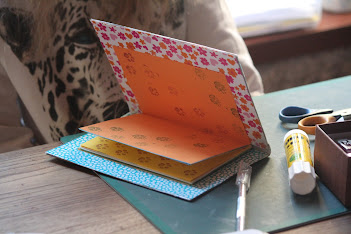 |
| The inside covers |
Step Four - Assembling your book cover
We decided to decorate the book cover before gluing the three parts together. It's probably possible to do it another way or use attractive cardboard in the first place but I always do it this way round. I like to have a contrasting spine and covers. If you want to have a unified cover then you would probably be best sticking the three pieces together first and then decorating the ensemble. Maya decorated the front and back pieces with strips of paper (origami, wrapping, tissue, old magazines...) and the spine with Japanese sellotape. She covered the front and back covers with sticky back plastic to make them more resistant and then glued a piece of decorated card to the inside.
The spine piece you cut out earlier needs to be folded to form a spine and two flaps based on your measurements, for the book pictured this was about 1.5cm for the middle and 1cm either side. We measured and drew lines to know where to fold. We then scored the lines gently with the craft knife (you could use a compass or scissors) before folding to make the folds more supple and precise.
The next step is to attach the spine to the covers. We used glue and consolidated with clear sellotape as we weren't satisfied with the hold from the glue. This also had the advantage of giving the spine the same aspect as the front and back cover which had been covered with sticky back plastic.
Once your cover is assembled manipulate it a bit to make sure it holds together and has enough flexibility to open and close.
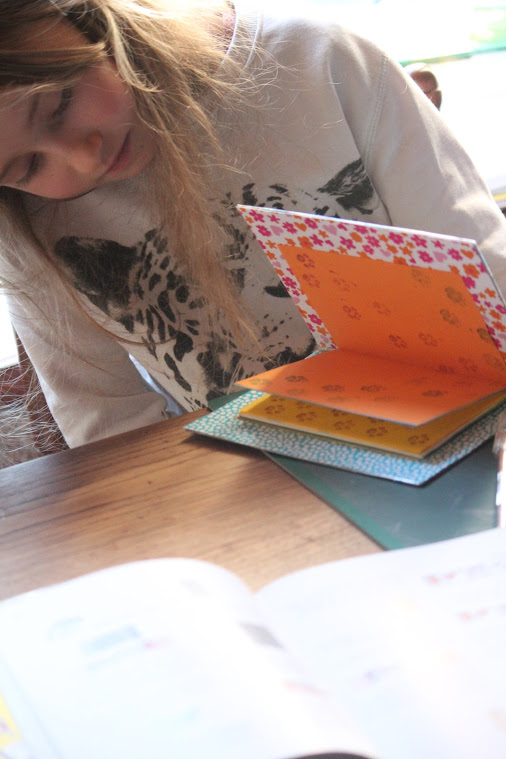 |
| Checking it works |
Step Five - Putting everything together
The final step is to glue your signatures, into your book cover. You use the front sheet and the end sheet to do this. Cover them with glue and place inside the cover at an equal distance from the top bottom and sides.
Once my book is made I like to press it under a pile of heavy books for a while to let the glue set and also prevent it popping open. I also check that the pages turn and the book can be opened properly.
Notes about paper and sizing
Any kind of papers work for book making and you can use different weights and shapes and sizes within one book. However, for a first project I would suggest using a fairly stiff paper and sticking to the same size signatures while you learn the technique.
If you do want to use different size papers, for example perhaps you want to use some pieces that aren't as big as A4 you can create a signature by attaching two pieces of paper together rather than folding. To do this there are two methods. In the case of the book Maya made, we used sellotape to attach pieces of paper together. On other projects I have used a more traditional book making process which consists of making a mini spine if you like or overlap for the two papers. It should be made from a paper of similar weight or a strong light paper like traditional origami paper. The overlay needs to be the same height as your papers and about 2cm wide. Score it down the middle (lengthways) and fold. Each paper should then be glued to one side of the overlay.
 |
| Using stamps adds interest to your pages |
Another way to make your signatures interesting is to print on them yourself using stamps. Maya used animal print stamps and a footprint stamp on one of her books for example. You could also do some of your own illustrations. In this accordion book I've just started for example, I've used an old chocolate wrapper to create a sea on one page and then some printed gift wrap for a fish. Later I hand drew a whale with black ink on white paper and cut it out to stick onto the blue background. The most important thing is to have fun!
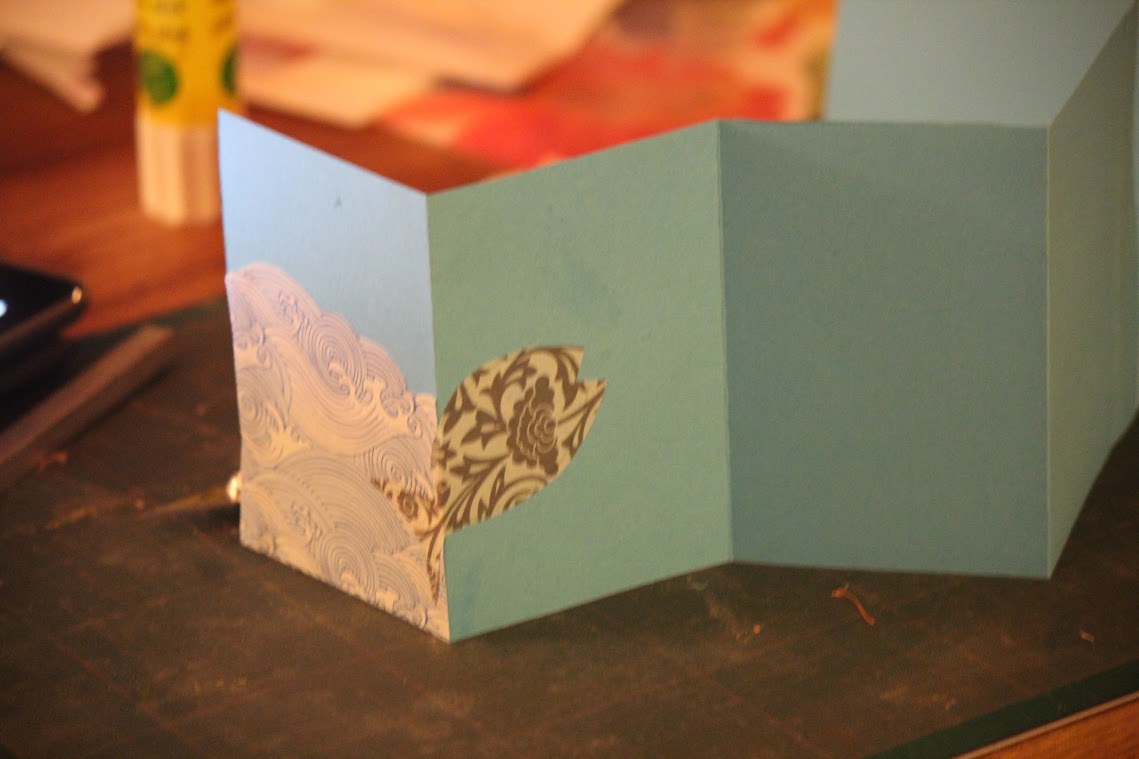 |
| Creating scenes in your book |