|
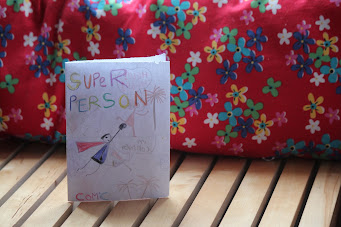
| Owls, Hortensias and other lovely things |
So I was probably ambitious last week to think I would manage to blog and prepare our annual homeschooling inspection. It always takes a lot of time and energy but now it's over and done with I'll get back on schedule. Lino Block Printing ended up being
our first spring craft. It wasn’t on the list but I’ve been
wanting to give it a go for absolutely ages and a warm spring day and
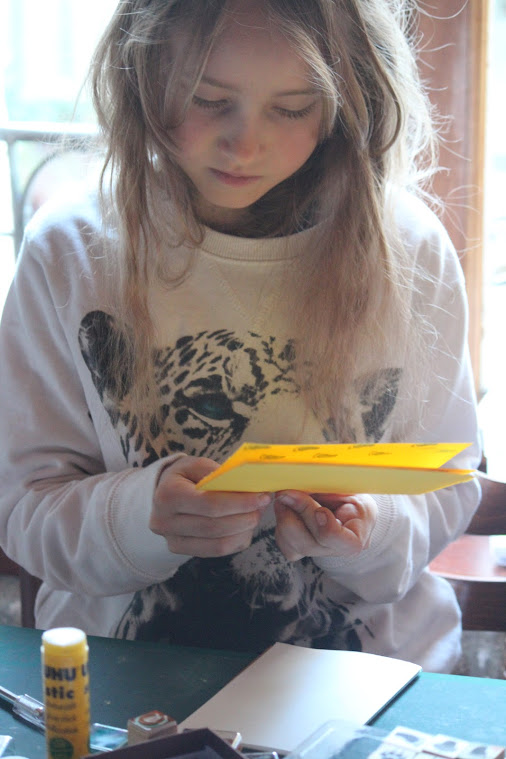
the need for some birthday cards provided the perfect opportunity.
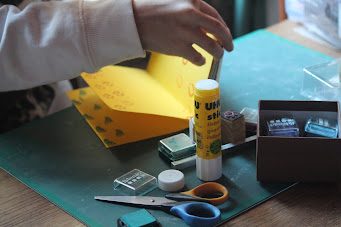
We started out as we
often do by talking about the technique and how it works. The kids
had tried it once before in a workshop situation but didn't remember much about it. I outlined the need
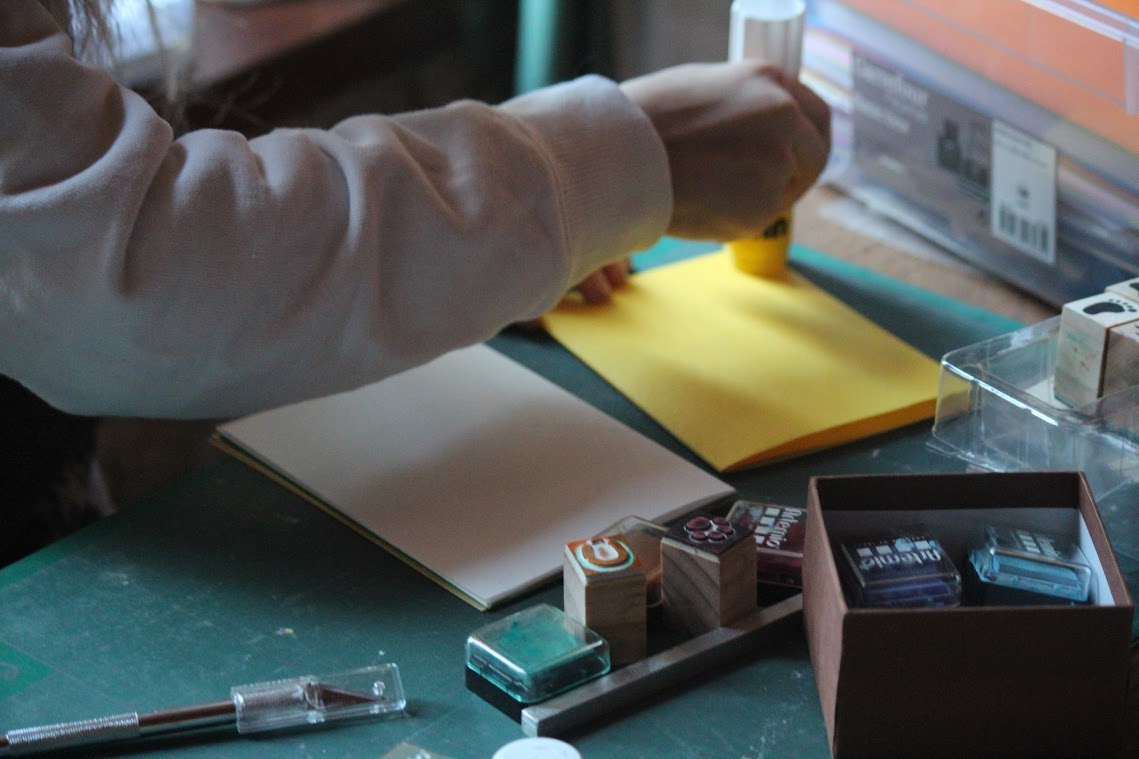
to think about presence and absence. I attempted to demonstrate how to use the different tools* we had safely but I’m afraid I failed miserably and instead managed to
take a chunk out of my own finger! As my husband said later, well at
least then they knew exactly what would happen if they weren’t
careful.
 |
| Using the tools - safely |
I had two large
pieces of lino which I decided to cut into small rectangles,
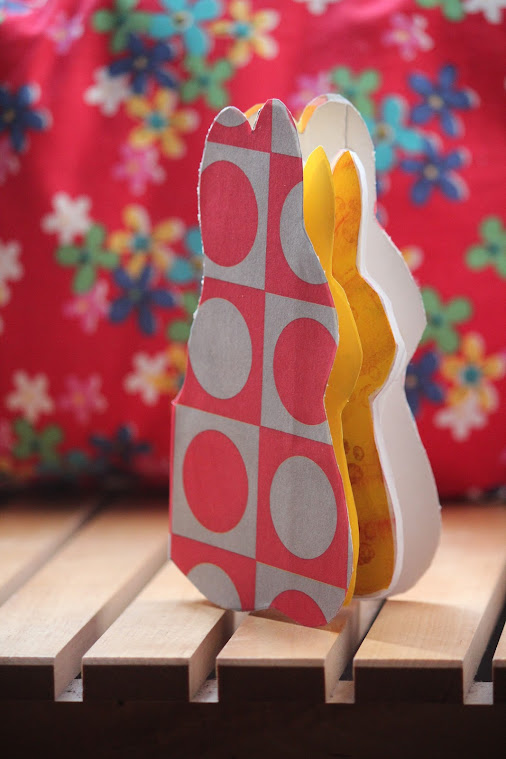
roughly the size of a note card. Maya began to work on a flower
straight away. She drew her idea directly onto the linoleum and got
on with carving. Noah took some time to think about ideas and tried out things on paper before
finally deciding he wanted to do a tractor. Although I wasn’t sure
how this would work I let him go with it. I reminded both of them
during the process that it wasn't the same as painting, there would
just be one colour at the end.
I worked side by
side with them on my own engraving – a magnolia flower. That
enabled them to see how I was using the tools and try out things I
was trying out to. I’d never done this kind of engraving before (I
have engraved a lot on copper) so it was a discovery for me too. I think it's great to try things out with your children. Sometimes as adults we think we need to have everything planned out and have some degree of mastery of what we're doing in order to share it with our kids but actually I think it's really inspiring for them to see you trying things out and learning too.
In our case, part of our homeschooling philosophy is not to view ourselves as the masters who are dispensing wisdom, but as fellow travelers on the road of learning with our children. We may have begun further along the road in most ways but they are gradually and surely catching us up and inevitably over taking us in the areas they are most passionate about.
 |
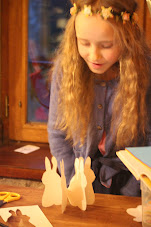
| Maya at work |
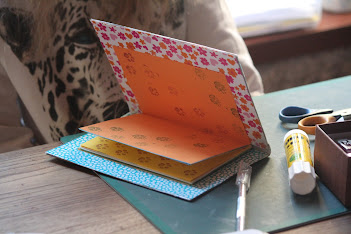
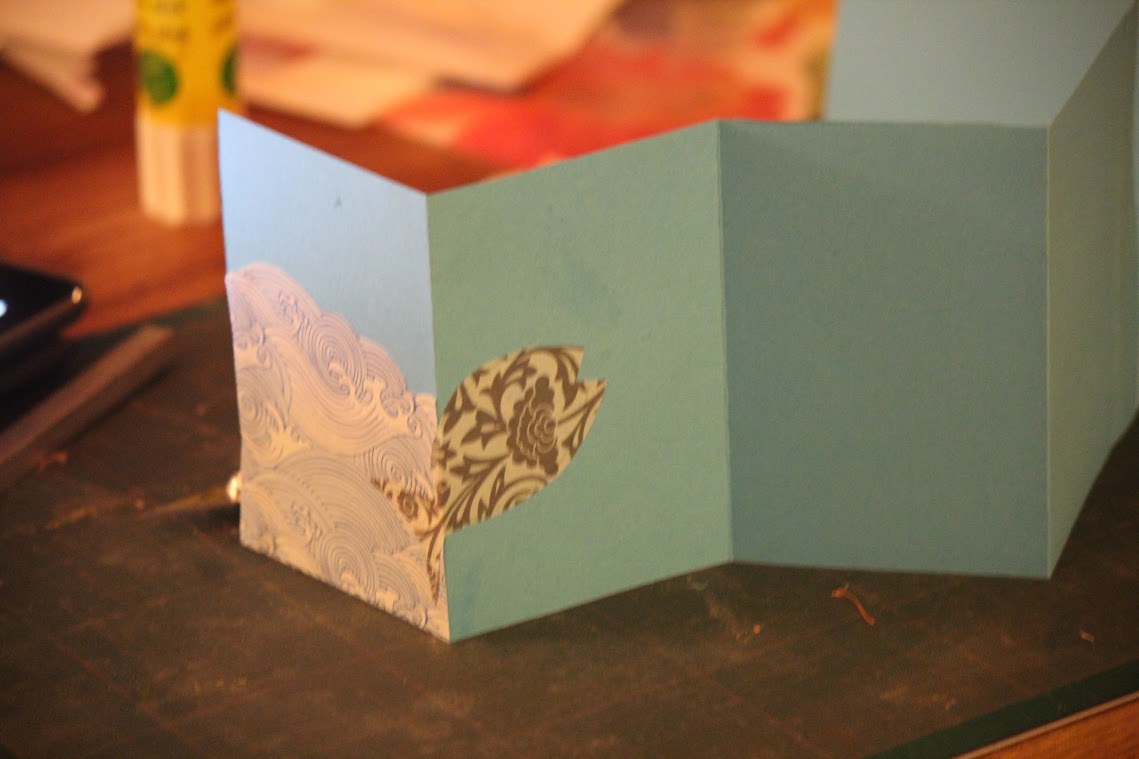
We had a lot of fun
especially at the printing stage. We used a blue ink specially for lino block printing which we applied with a roller. We then pressed the paper over the block and rolled it with a rolling pin. The ink was pretty thick so I think you could probably use a good acrylic paint too but we haven't tried it yet. We followed instructions from Lotta Jansdotter's beautiful book Lotta Prints. I love Lotta's designs, I have her sewing book too and it's one of my favourites.
Maya went on to do several more
blocks. She loves the process of crafting and likes to practice a new thing repeatedly to gain mastery. Noah took his block away and worked on improving it to get more
contrast and definition. Both children seemed to really enjoy the process, Maya said it was fun carving out her patterns. And they were both pleased with the results which were quickly making their way to various of our friends and family celebrating birthdays.
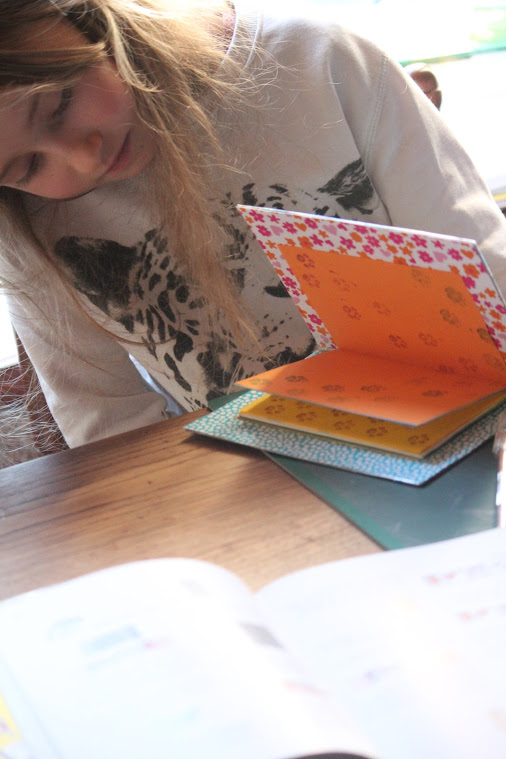
My advice to anyone wanting to try this with their kids would be go for it. It's really good fun and the results are very professional looking. I would advise making sure you know where your disinfectant and plasters are beforehand just in case any of the tools slip - it really is important to emphasize to everyone how important it is to keep hands and fingers behind the tools! That's also why it's important to use a mat if you're working on a table you don't want to scratch. And finally, make sure you print on a mat or table you can get dirty.
 |
| Such precision and look - the hands are behind the tools! |
*We have a very basic set of wooden handled tools. They came from a craft shop and cost no more than 5euros.