Well possibly a few more than five. While studying for the great online MOOC ModPo I really enjoyed the Emily Dickinson poems. In her great poem I dwell in Possibility she proposes that poetry is a freer imaginative world than prose. In fact the world she describes is limitless as the sky. Whether you agree with this or not - I also find prose to be a wonderfully large imaginative space - what I really like about this poem is the invitation to live in a place of what is possible. Not probable, or likely, not practical or convenient but possible. For me, to live always with an ear open to adventure, to taking a journey of the mind, to beginning something and seeing where it leads you.
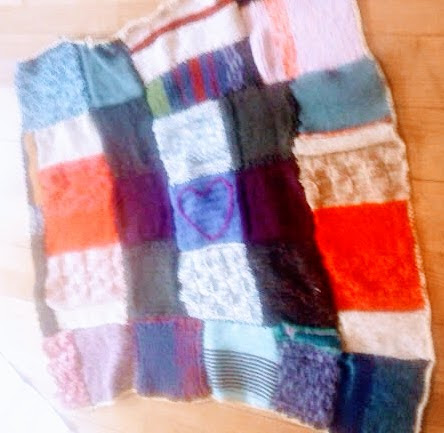 |
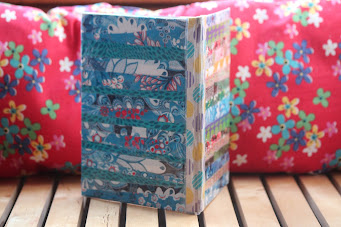
| Olivia's blanket - some of wool's possibilities |
Dickinson ends the poem with these beautiful lines,
For Occupation - This -
The spreading wide my narrow Hands
To gather Paradise -
And as I was reading the poem again recently, I thought how this act of spreading my hands also talked to me about knitting. How from such humble beginnings you can go in so many directions. Just take a stroll around Ravelry and you can see the creative possibilities are endless!
Yesterday I signed up for an exciting local project. We're going to yearn bomb the town centre to liven it up a bit next winter. I looked at a lot of pictures of what other people are doing and picked up some wool and it got me really excited about all the possible things we can do with wool. Hopefully I'll share some pictures of where this project takes us later in the year. For now, here are some pictures of where my 'wool journey' has taken me recently*...
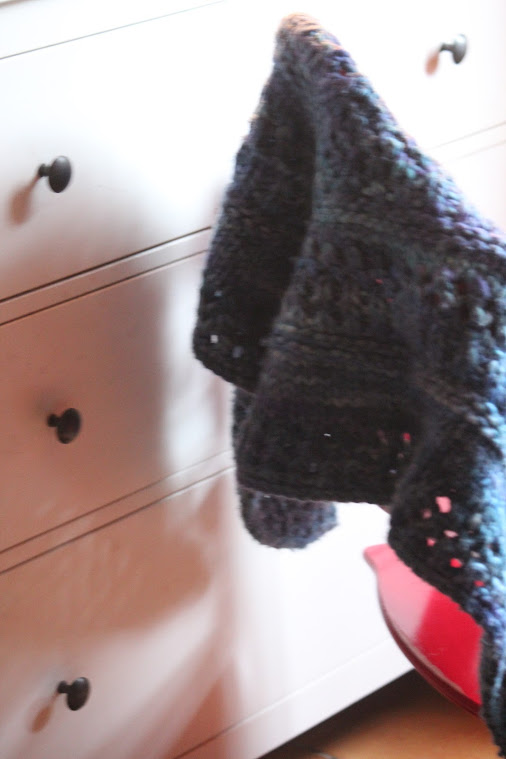 |
| Blue Shawl |
 |
| Beautiful Blue Waves |
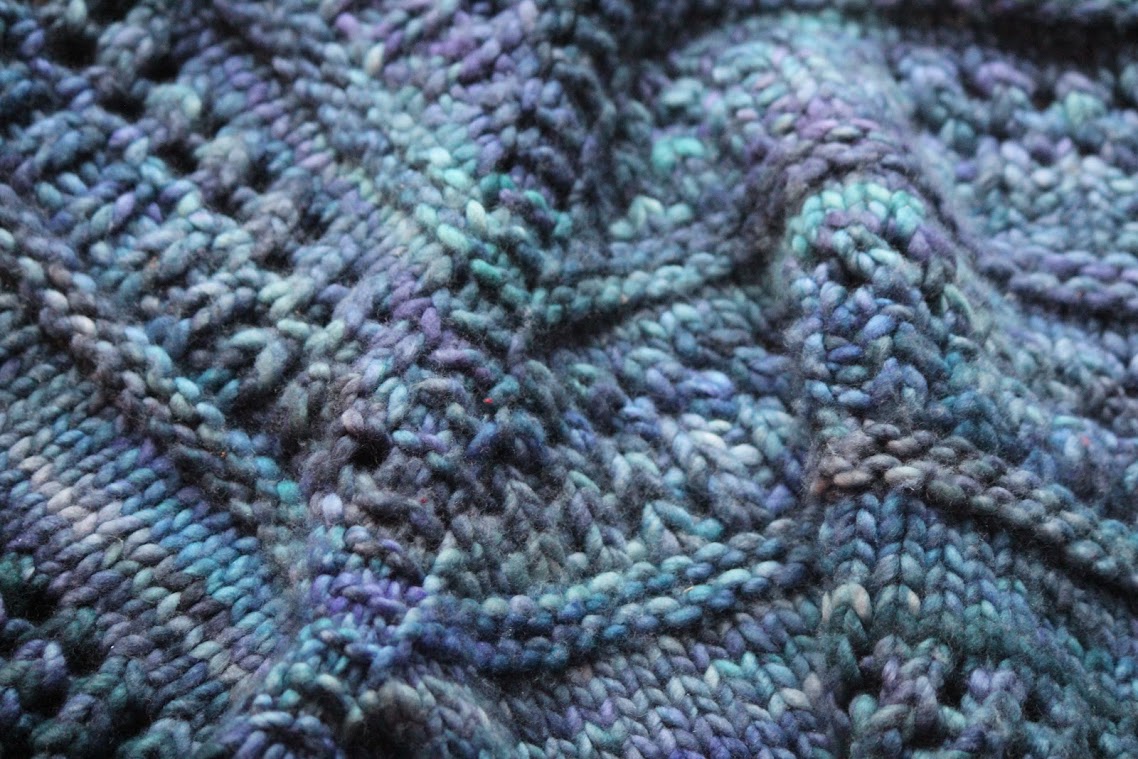 |
| Close up on that lovely Malabrigo Wool |
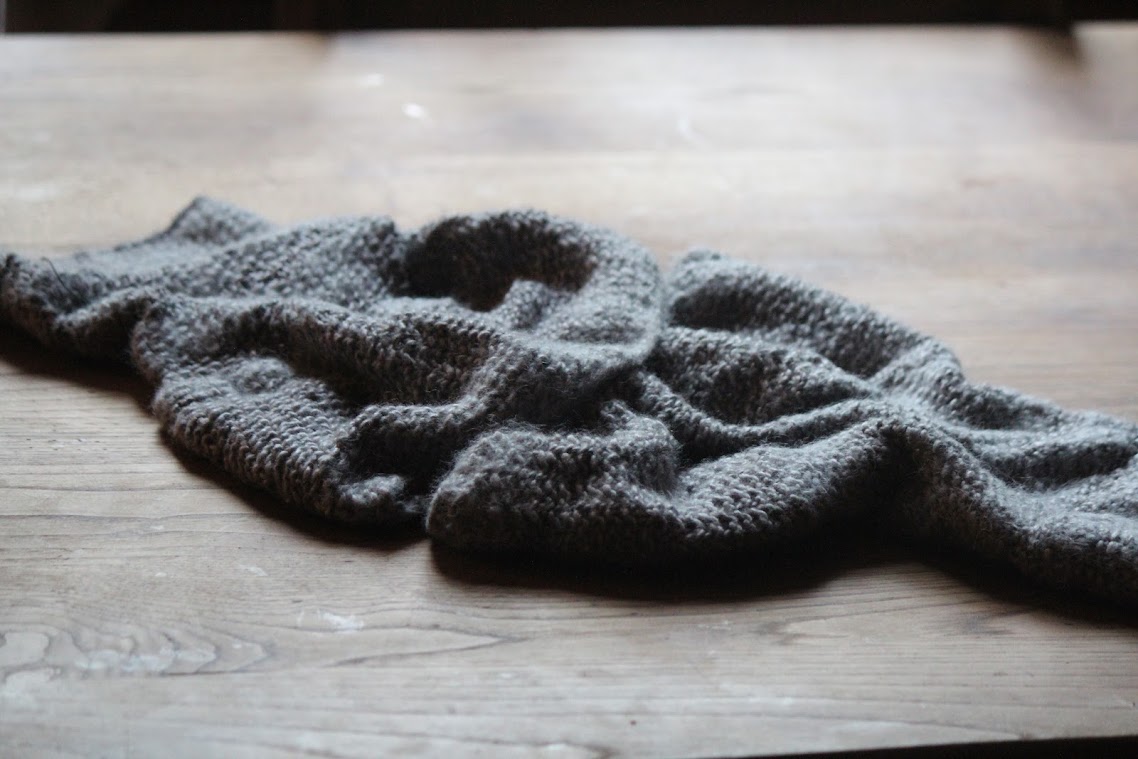 |
| Maya's Bolero |
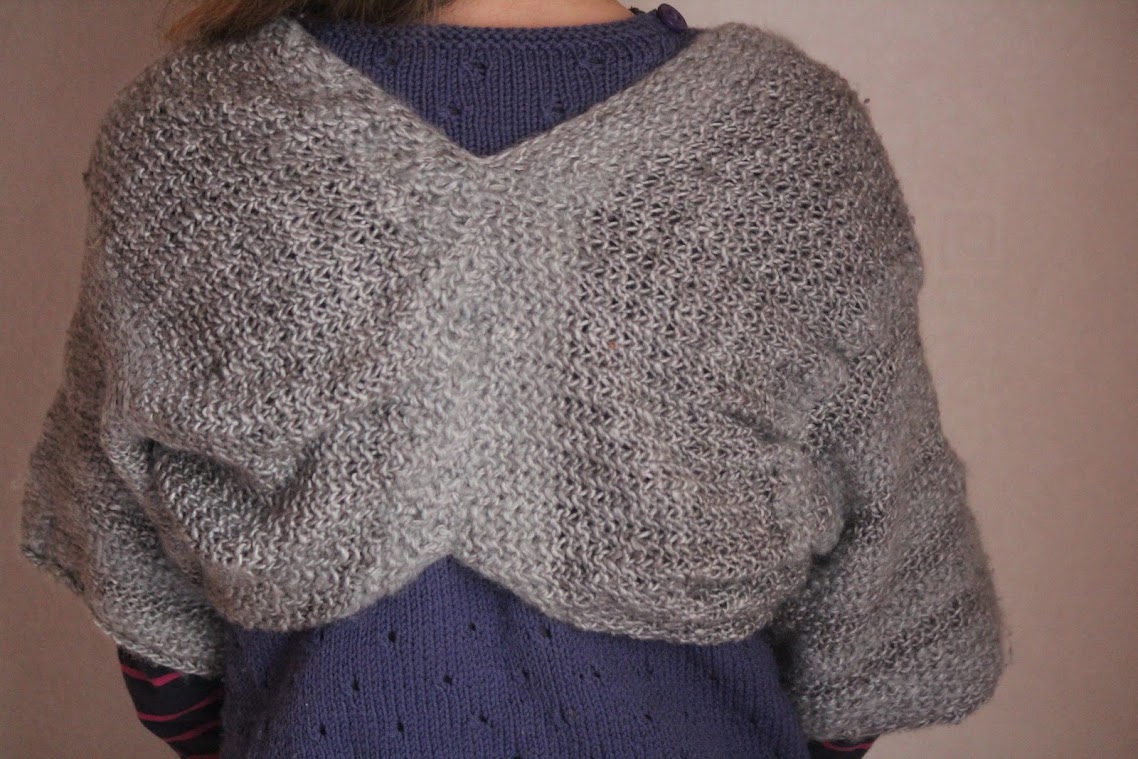 |
| From the back |
And here are the works in progress*...
 |
| Lotta's artichaut |
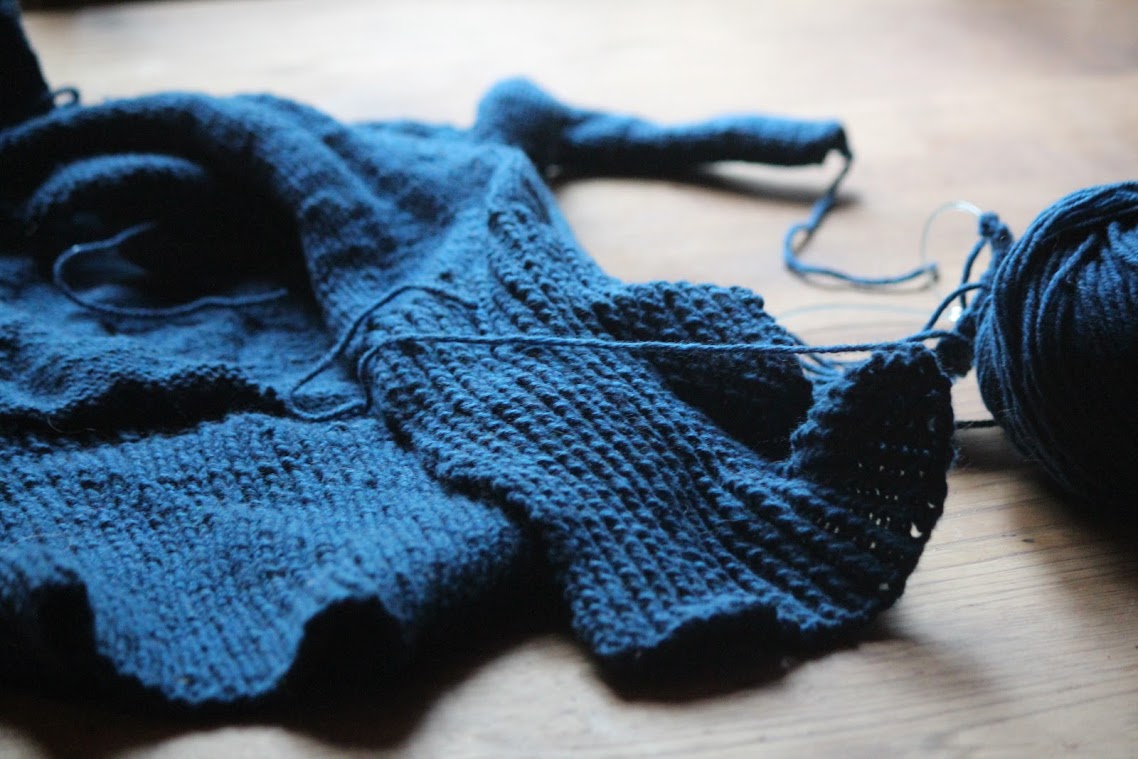 |
| For Me - A Cardigan |
Wool really does offer us so many possibilities just as words do if we give ourselves permission to live in a world of possibility. What a wonderful idea to practice with our children to, to try and say yes to their imaginations, their flights of fancy and crazy ideas as often as we possibly can. It may not always be easy but I can guarantee we'll have some fun adventures.
Here is Emily Dickinson's poem in full to inspire us all...
I dwell in Possibility
by Emily Dickinson
I dwell in Possibility -
A fairer House than Prose -
More numerous of Windows -
Superior - for Doors -
Of Chambers as the Cedars -
Impregnable of eye -
And for an everlasting Roof
The Gambrels oF the Sky -
Of Visitors - the fairest -
For Occupation - This -
The spreading wide my narrow Hands
To gather Paradise -
Of Visitors – the fairest –
For Occupation – This –
The spreading wide my narrow Hands
To gather Paradise –
*For those who want to know what the patterns are, from the top... I think the first one is called Old Hand Lace Master but as Ravelry wont work today I can't give you a link. It's knitted in Malabrigo Rasta colour Azules. The shrug for Maya is Nora's Bolero by Pickles a Norwegian company whose patterns I love. It's an easy knit. I used Malagbrigo Lace in Pearl and Fyberspates Cumulus in Silver. The latter's mix of silk and apaga gives the bolero a beautiful drape and a lovely shimmery feel to it that the photos aren't quite capturing. Cumulus is also the wool I'm using for Lotta's little wrap bolero - yes they're both getting boleros but not quite the same style view the age gap. It's the Artichaut pattern by de rerum natura a company whose environmentally friendly and humane wools are a delight to use. It's one of theirs I'm using for my cardigan which I'll tell you more about soon.