 |
| Noah trying on his Roman Centurion's Helmet |
I did a quick five minutes of online research and then launched freewheeled it. Here's what we did...
Roman Centurion's Helmet Tutorial
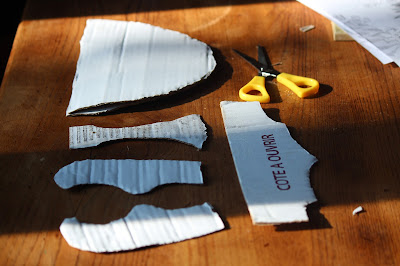
- First I freehand drew the different parts we would need to make the helmet onto some cardboard (from a box). I got inspiration for the pieces here, you could print their templates and then trace them onto cardboard.
 |
| Cutting out the pieces |
- Next we painted all the pieces with silver paint (metallic for kids from a supermarket). You could also use gold or grey. We used a roller to apply the paint and because our box was white we only needed one coat. We painted the crest section red and then cut into it like for a fringe to give a feathered effect.
 |
| Painting the helmet parts silver |
 |
| The crest is painted red |
- Once all the parts were painted and dried, we began to assemble the helmet. First we stuck the cheek guards to the semi-circular front piece. We then added the rectangular and pointed front piece. We also had to add on an extra rectangular piece to hide some annoying lettering on our box which the paint didn't cover even with two coats. We used staples to join the pieces together as they hold better than glue.
 |
| Sticking the pieces together |
- Finally we attached the two long rectangular strips to the front piece and adjusted them to fit around Noah's head. Well perhaps one or two other people might have tried the helmet on first!
 |
| Avé César ! |

No comments:
Post a Comment